When a lawn stops looking its best, the issue is often below ground. While it is easy to focus on what you can see, the condition of the soil beneath the surface plays a big role in how well your grass grows. If the soil becomes too firm or compacted, water, air, plus nutrients struggle to get through.
Because of that, lawn aeration can be a really useful part of lawn care. As such, it helps open the soil, giving your lawn a better chance to grow stronger. To help you achieve better results, this guide explains how to properly aerate your lawn in Tasmania’s weather. It will also help you work out the right time to do it in Tassie.
What Happens When You Aerate Your Lawn
For many homeowners, aerating is something worth doing every so often. The basic idea of aeration is to make small holes in the turf so rain or sprinkler water can penetrate the soil more efficiently. The process creates small gaps in the soil that help relieve pressure underneath. Aside from that, this allows moisture to move through more freely while also helping air reach below the surface. In turn, this supports stronger root growth.
Step-by-Step on How to Aerate Your Lawn
Step 1: Look for the Signs of Compacted Soil
Compacted soil can quietly build up over time, especially in high-traffic areas. When your soil is compacted, it can limit how well your lawn takes in what it needs to grow.
Step 2: Pick the Right Time to Aerate Your Lawn in Tasmania
Timing also plays a bigger role than most people realise. Aeration tends to work best when the lawn is actively growing, as it helps the grass recover more easily afterwards. For most Tassie lawns, spring or early autumn is usually the right time. Spring is a good time to freshen things up after winter. Furthermore, early autumn still offers some warmth in the soil without the stress of summer heat.
BONUS TIP: The main downside of aeration is doing it at the wrong time, especially during dry or drought conditions. So if the grass is growing well and the soil has some moisture, the timing is usually right.
Step 3: Mow the Lawn Low
The next step is really about improving the state of the lawn through mowing it. By doing so, you can have a better view of what you will be working with. Before aerating, it helps to cut the lawn to about 1.5 to 2 inches high without mowing it too low. From there, the condition of the soil matters too. If your lawn has irrigation or anything else underneath, it is a good idea to mark those spots first.
Step 4: Aerate the Lawn Using the Right Tools
Like any outdoor job, aeration comes down to what your lawn needs. So if you have been wondering if this is something you can do yourself, the answer is yes. This is especially possible on smaller areas or lawns that are only lightly compacted. In many cases, a garden fork is enough to do the job. As it breaks into the soil, it helps ease compaction underneath.
As you aerate, small plugs of soil will be pulled out of the lawn. These can be left where they fall so they can slowly break down on their own. As they settle, they help return nutrients to the soil. Aside from that, they also help with thatch breakdown. With a bit of moisture, they usually break down within two to four weeks. The holes left behind are small, so they are not very noticeable. Over the next week or so, new root growth will begin filling them in.
There are also other tools people use, like aerator shoes or manual aerators. These are tools that can be useful for lighter work. For lawns that are larger or more compacted, a core aerator can make a noticeable impact. This is because it removes small plugs to open the soil up more. Again, if the soil still feels too firm, a bit of water beforehand can make it easier to work with.
Step 5: Help Your Lawn Recover
Aeration can do a lot for your lawn, but it is really what happens afterwards that helps bring the results through. Once the lawn has been opened up, it is in a much better position to take in whatever comes next. Because of that, it can be a good time to water, apply some fertiliser, or add top dressing if the lawn needs a bit of extra support.
If you are using a machine, remember that one pass usually only affects a small part of the lawn. Most machines only cover a small part of the surface each time. As such, more compacted sections of the lawn may need a few extra passes. On the other hand, the unaffected parts can usually be left alone.
You may also notice small soil plugs left behind after aerating. This is nothing to worry about. Once they have dried out, they can be broken up so the lawn looks more even again. There is also a common myth that aerating after using a pre-emergent herbicide will ruin its effect. That is a pretty common myth, but it does not actually work that way.
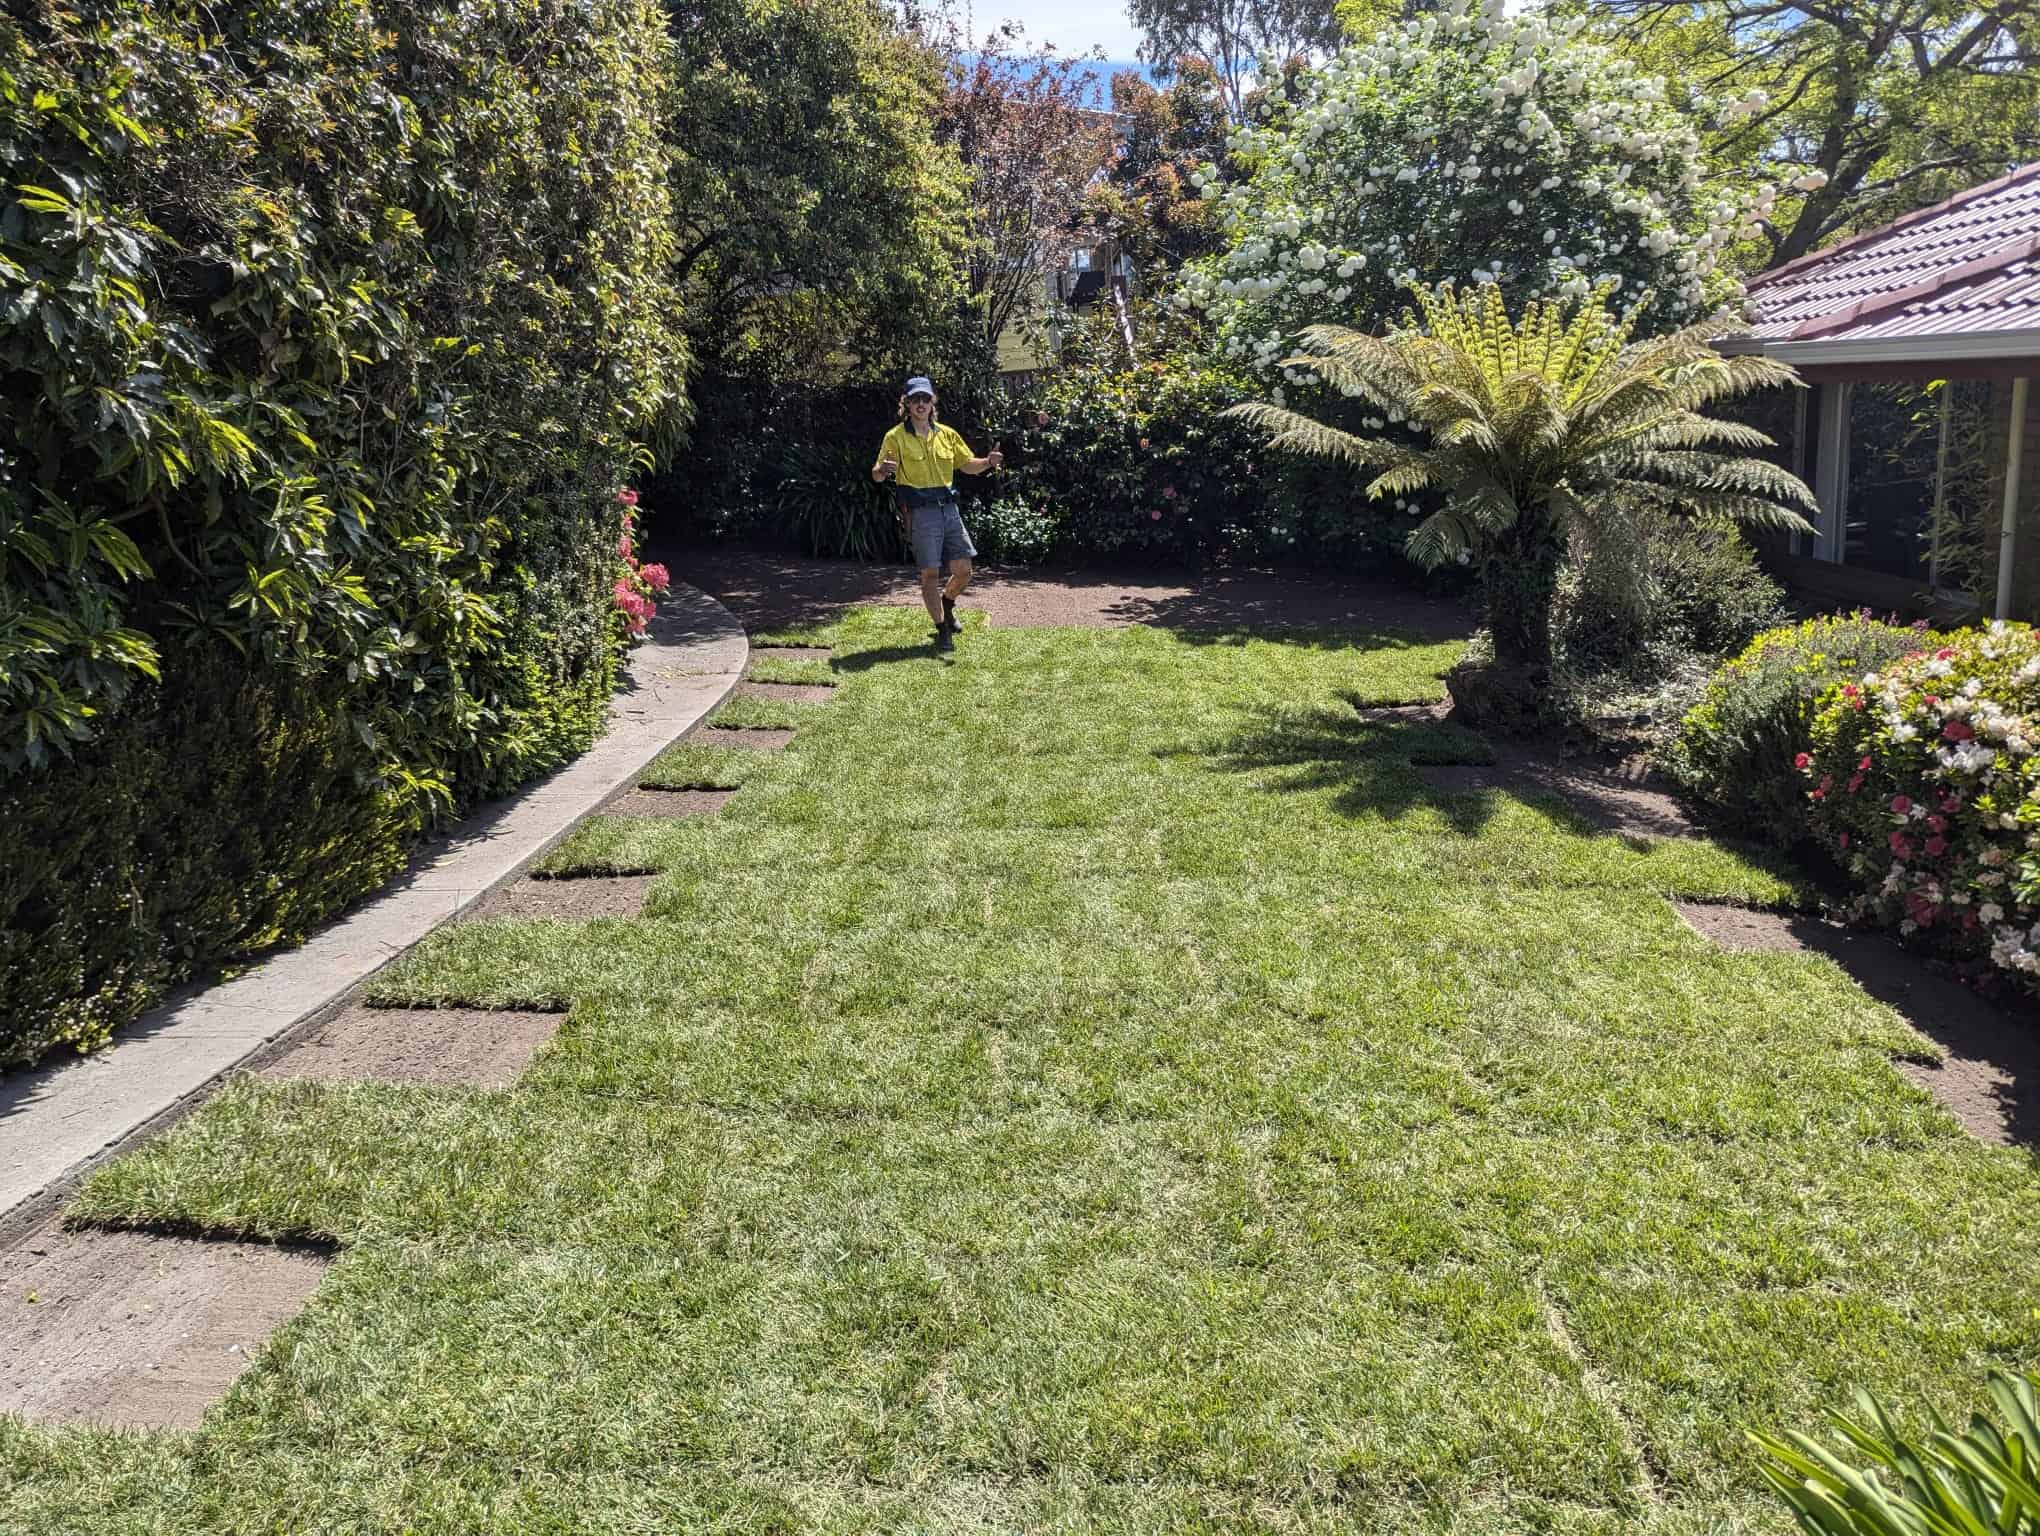
Bring In Lawn Squad for a Healthier Lawn
Because we work with Tasmanian lawns all the time, we know each one comes with its own set of quirks. At Lawn Squad, lawn aeration can also be part of our garden maintenance services. That way, your lawn plus garden can stay in better shape over time.
Let the soil open up a little, and your lawn will respond over time. If you want a hand with it, Lawn Squad can take care of the rest.
Frequently Asked Questions
Yes. You can usually do it yourself using a garden fork or a hire machine. In fact, most lawns do not need anything too involved. You may need a professional if the ground is heavily compacted, the area is too big to manage, or the lawn is not improving over time.
There is not much downside when it is done at the right time. If the soil is too dry, it can be harder to do properly or may stress the lawn. Because of this, it is important to work when the soil is slightly moist.
You can usually tell by how the soil and grass look. If the soil feels hard in high-traffic areas, it may be compacted. Aside from that, firm soil or water sitting on top can point to issues underneath. Thin or patchy areas can also mean there are issues right below the surface.